
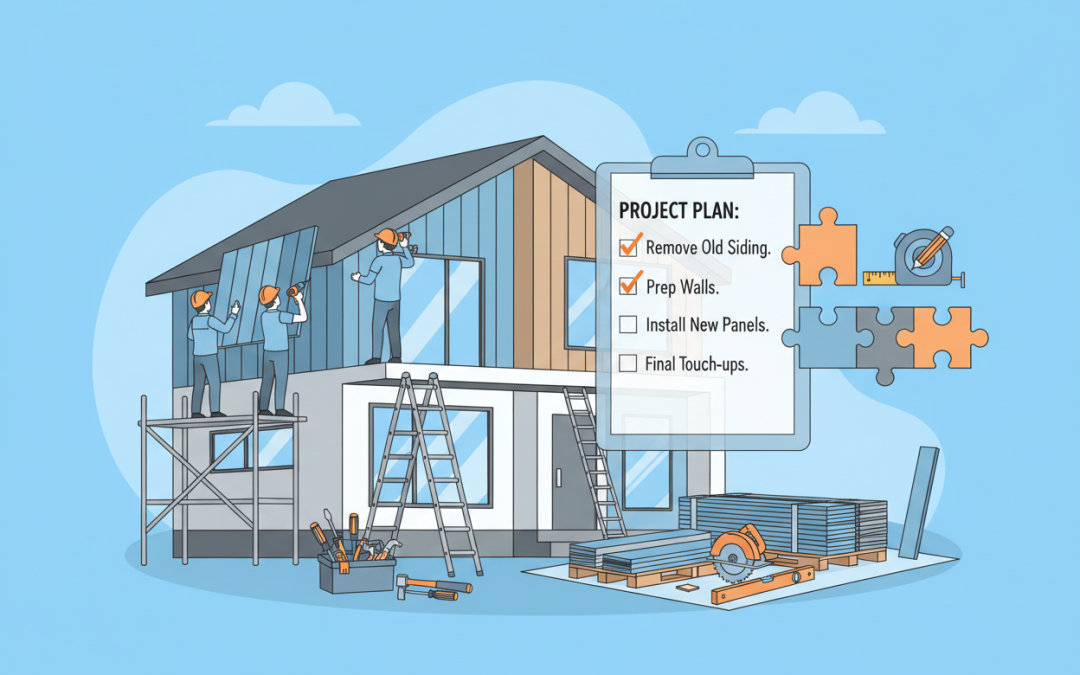
The Ultimate Checklist for Siding Replacement Project Success
Planning a siding replacement project can feel overwhelming, especially when you’re staring at peeling paint, warped boards, or outdated aluminum panels that have seen better days. Whether you’re dealing with storm damage, aging materials, or simply want to boost your home’s curb appeal, replacing your siding is one of the most impactful home improvement investments you can make.
Having guided countless homeowners through this process, I’ve learned that successful siding replacement projects don’t happen by accident. They require careful planning, smart decision-making, and attention to detail at every step. This comprehensive checklist will walk you through everything you need to know to ensure your siding replacement project goes smoothly from start to finish.
Pre-Project Planning and Assessment
Before you start dreaming about your home’s new look, you need to establish a solid foundation for your project. The planning phase is where many homeowners either set themselves up for success or create headaches down the road.
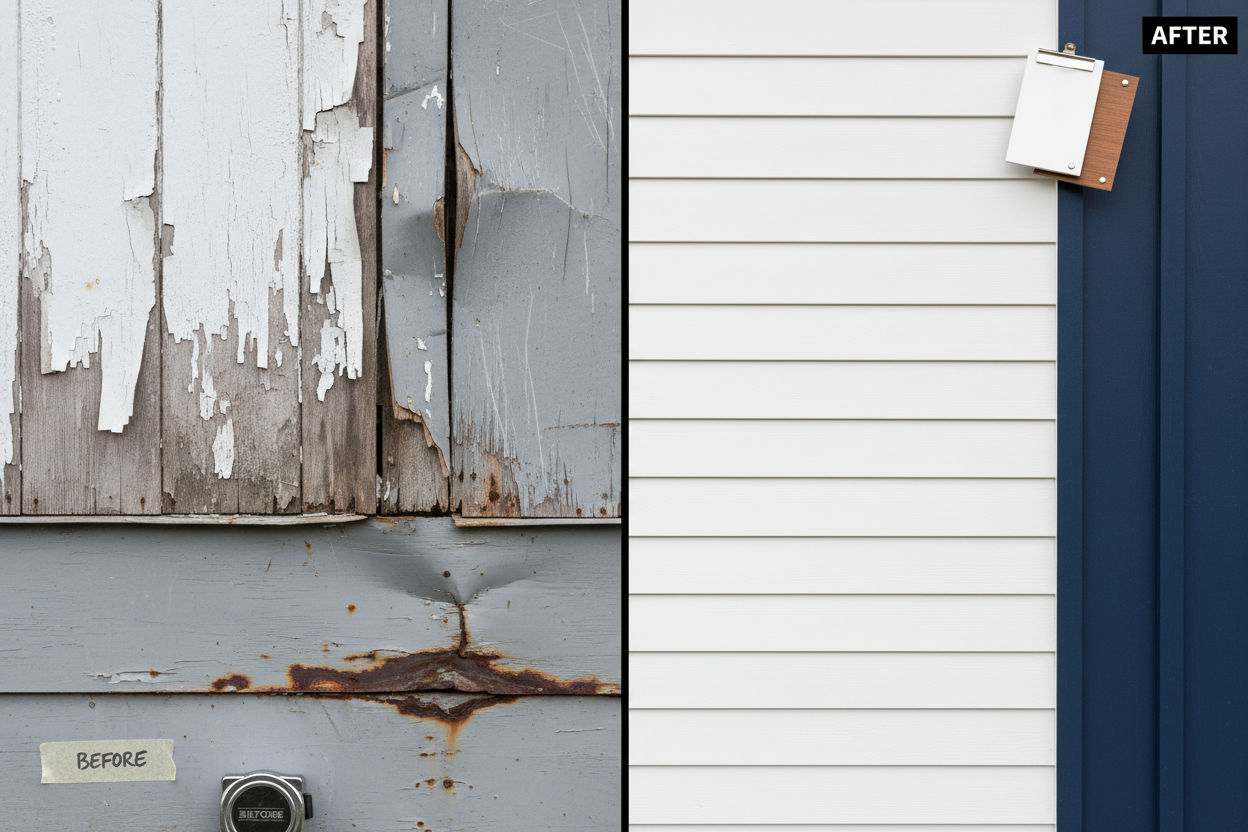
Start by conducting a thorough assessment of your current siding. Walk around your entire home and document problem areas with photos. Look for signs of moisture damage, insect infestation, or structural issues that might need addressing before new siding installation. This isn’t just about aesthetics – underlying problems can compromise your new siding if left unresolved.
Consider your local climate and how different siding materials perform in your area. If you live in a region with harsh winters, you’ll want materials that can handle freeze-thaw cycles. Coastal areas require siding that resists salt air corrosion, while areas prone to severe weather need impact-resistant options.
Setting Your Budget and Timeline
Establishing a realistic budget early prevents costly surprises later. Siding replacement costs vary dramatically based on material choice, home size, and project complexity. Research average costs in your area and add a 10-20% contingency buffer for unexpected issues.
Remember that the cheapest option isn’t always the most economical long-term. Higher-quality materials might cost more upfront but can save money through reduced maintenance and longer lifespan. Factor in energy efficiency benefits too – proper insulation and quality siding can significantly reduce heating and cooling costs.
Timeline planning is equally crucial. Most siding projects take one to three weeks, depending on home size and weather conditions. Schedule your project during favorable weather months in your region. Spring and fall typically offer the best conditions, though this also means higher contractor demand and potentially higher prices.
Choosing the Right Siding Material
Material selection dramatically impacts your project’s success, maintenance requirements, and long-term satisfaction. Each option has distinct advantages and considerations that align differently with various needs and budgets.
Vinyl siding remains popular due to its affordability, low maintenance, and variety of styles. Modern vinyl offers improved durability and realistic wood-grain textures. However, it can crack in extreme cold and may fade over time in intense sunlight.
Fiber cement siding provides excellent durability and fire resistance while mimicking wood’s appearance. It handles weather extremes well but requires periodic painting and costs more than vinyl. Installation also requires experienced contractors familiar with proper techniques.
Wood siding offers unmatched natural beauty and can be painted any color. Cedar and redwood provide natural insect and rot resistance. However, wood requires regular maintenance and costs significantly more than synthetic alternatives.
Metal siding, particularly aluminum and steel, offers longevity and recyclability. It’s fire-resistant and handles severe weather well but can dent and may show scratches more readily than other materials.
Selecting and Vetting Contractors
Your contractor choice can make or break your siding replacement project. Start gathering recommendations at least two months before your planned start date. Ask neighbors, check with local building supply stores, and research online reviews carefully.
Obtain detailed quotes from at least three contractors. Quality quotes should include material specifications, labor costs, timeline estimates, and cleanup provisions. Be wary of quotes that seem significantly higher or lower than others – both can indicate problems.
Verify each contractor’s license, insurance, and bonding status. Ask for recent customer references and actually contact them. Drive by some of their recent projects if possible to see work quality firsthand.
Pay attention to communication style during the quoting process. Contractors who are difficult to reach, vague about details, or pushy about signing immediately often create problems during the actual work.
Obtaining Necessary Permits and Approvals
Most siding replacement projects require building permits, though requirements vary by location. Contact your local building department early to understand specific requirements and timeline for permit approval.
If you live in a homeowners association community, review architectural guidelines and submit required applications. HOA approval processes can take several weeks, so start early to avoid project delays.
Some historic districts have additional requirements for exterior modifications. Research any historic preservation guidelines that might affect material choices or installation methods.
Preparing Your Property
Proper preparation protects your landscaping, belongings, and family during construction. Remove or cover outdoor furniture, grills, and decorative items near your home’s exterior. Trim bushes and trees that might interfere with installation or equipment access.
Inside your home, remove wall hangings and fragile items from rooms adjacent to exterior walls. Siding installation creates vibration that can knock items off shelves or walls.
Establish clear communication with family members about construction schedules, noise levels, and safety considerations. Discuss temporary parking arrangements if driveways or streets will be blocked by equipment.
Managing the Installation Process
Stay engaged throughout installation without micromanaging your contractor. Establish regular check-in times to discuss progress and address any concerns promptly. Take photos of work in progress for your records.
Weather delays are common in siding projects. Maintain flexibility in your schedule and communicate with contractors about weather contingency plans. Quality contractors won’t install siding in inappropriate weather conditions.
Monitor material deliveries to ensure you receive what was specified in your contract. Check for damage during delivery and document any issues immediately.
Quality Control and Final Inspection
Conduct thorough inspections at project completion before making final payment. Check for proper alignment, consistent spacing, and secure attachment of all siding pieces. Look for gaps around windows, doors, and other openings that should be properly sealed.
Verify that cleanup meets your expectations. Reputable contractors remove all debris and leave your property in clean condition. Check that landscaping hasn’t been damaged and that any issues are addressed.
Ensure you receive all warranty documentation, care instructions, and leftover materials for future repairs. Keep detailed records of your project including contracts, permits, and photos for insurance and resale purposes.
Post-Installation Maintenance
Even low-maintenance siding materials require some ongoing care to maintain appearance and performance. Establish a regular cleaning schedule appropriate for your siding material. Most siding benefits from annual washing with mild detergent and water.
Inspect your siding seasonally for signs of damage, loose pieces, or areas needing attention. Address small issues promptly to prevent larger problems. Keep records of any maintenance performed.
Maintain proper landscaping clearance around your home. Vegetation growing against siding can trap moisture and cause damage over time. Ensure sprinkler systems don’t spray directly onto siding materials.
Conclusion
A successful siding replacement project requires careful planning, informed decision-making, and attention to detail throughout the process. By following this comprehensive checklist, you’ll be well-prepared to navigate each phase of your project confidently.
Remember that while siding replacement represents a significant investment, it’s also an opportunity to dramatically improve your home’s appearance, energy efficiency, and value. Take time to make thoughtful decisions rather than rushing through the process. The extra effort you invest in planning and execution will pay dividends in the form of a beautiful, durable exterior that protects and enhances your home for years to come.
Your home deserves the best possible siding installation, and with proper preparation and the right team, you can achieve outstanding results that exceed your expectations.
Frequently Asked Questions
How long does a typical siding replacement project take?
Most residential siding replacement projects take 1-3 weeks, depending on home size, material choice, and weather conditions. Larger homes or complex architectural features may extend the timeline.
What’s the best time of year to replace siding?
Spring and fall typically offer the most favorable weather conditions for siding installation. However, experienced contractors can work year-round in most climates, though winter projects may take longer due to weather delays.
Do I need to be home during siding installation?
You don’t need to be present constantly, but someone should be available for contractor communication and to address any questions that arise. Many homeowners check in daily during key phases of the project.
How much should I budget for unexpected issues?
Plan for 10-20% above your base project cost to handle unexpected issues like structural repairs, additional insulation needs, or hidden damage discovered during removal of old siding.
Can I install new siding over existing siding?
In some cases, yes, but it’s generally better to remove old siding to inspect the underlying structure and ensure proper installation. Your contractor can advise based on your specific situation.
What maintenance does new siding require?
Maintenance requirements vary by material. Vinyl and fiber cement need annual cleaning and periodic inspections. Wood siding requires regular painting or staining. Metal siding needs occasional cleaning and touch-up of scratches.


Affordable home window replacement Farmersville Texas



Home window replacement near me Collinsville Texas








How much does it cost for vinyl replacement windows Leonard Texas

Affordable home window replacement Denison Texas


















Energy-efficient vinyl windows Lowry Crossing Texas












Home replacement window companies Valley View Texas














Lakewood Dallas TX Replacement Siding Installation Services