
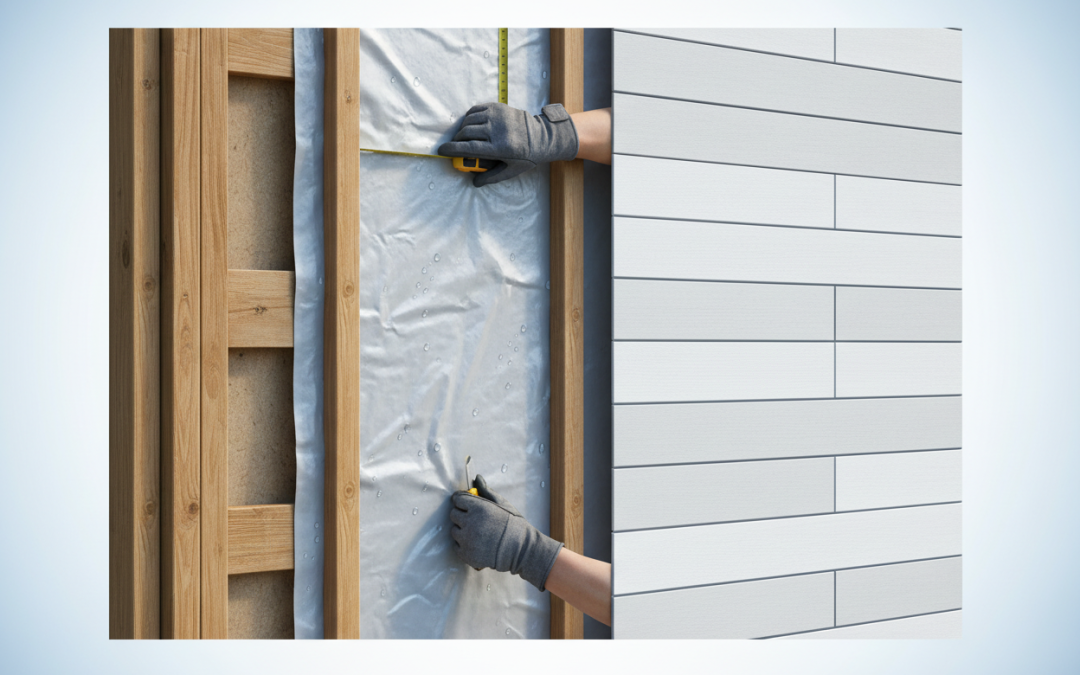
Siding Replacement and Moisture Barrier Installation Essentials: A Complete Homeowner’s Guide
When it comes to protecting your home from the elements, your siding and moisture barrier work as an inseparable team. I’ve seen countless homeowners make the mistake of focusing solely on the aesthetic appeal of new siding while completely overlooking the critical importance of a properly installed moisture barrier. This oversight can lead to devastating consequences including mold growth, structural damage, and thousands of dollars in repair costs down the road.
Whether you’re dealing with aging vinyl siding, damaged wood panels, or simply want to upgrade your home’s exterior, understanding the essentials of both siding replacement and moisture barrier installation will save you time, money, and headaches. In this comprehensive guide, we’ll walk through everything you need to know to make informed decisions about your home’s protective envelope.
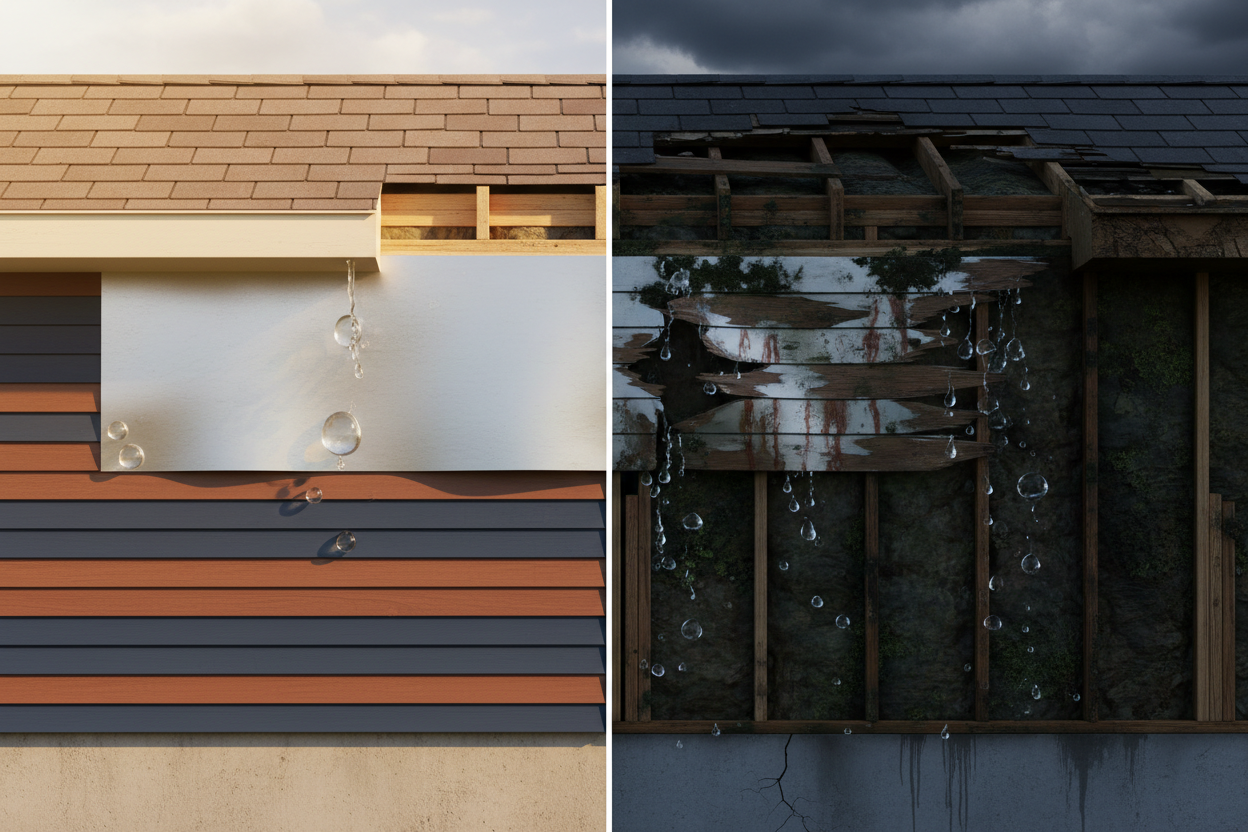
Understanding the Critical Role of Moisture Barriers
Before diving into siding replacement, let’s talk about something most homeowners never see but absolutely cannot ignore: the moisture barrier. Think of it as your home’s raincoat – an invisible shield that prevents water from penetrating your walls and causing havoc inside your home’s structure.
A moisture barrier, also known as a house wrap or weather-resistant barrier, serves multiple purposes. It blocks wind-driven rain from entering your wall cavity while allowing water vapor from inside your home to escape. This breathable quality is crucial because trapped moisture can lead to mold growth, wood rot, and compromised insulation performance.
Modern moisture barriers have come a long way from the simple tar paper used decades ago. Today’s products feature advanced synthetic materials that offer superior durability, UV resistance, and water protection. Popular brands like Tyvek, Typar, and ZIP System have revolutionized how we protect homes from moisture intrusion.
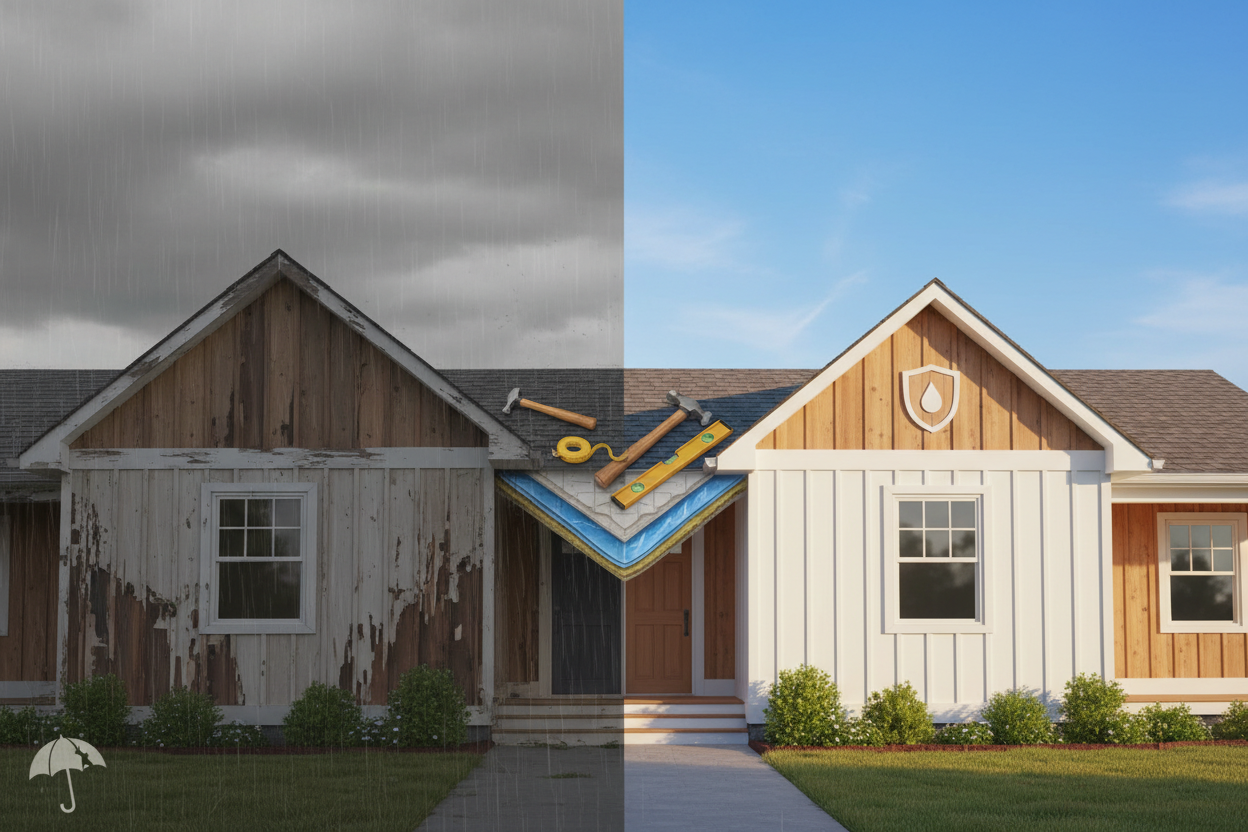
Signs Your Home Needs Siding Replacement
Recognizing when your siding needs replacement isn’t always straightforward, especially if you’re not sure what warning signs to look for. During my years in the construction industry, I’ve learned that early detection can prevent minor issues from becoming major disasters.
Warping, cracking, or loose siding panels are obvious red flags that shouldn’t be ignored. However, some signs are more subtle. Increased heating and cooling bills might indicate that your siding is no longer providing adequate insulation. Peeling paint that returns shortly after repainting often signals moisture problems behind the siding.
Interior signs are equally important to monitor. Water stains on interior walls, especially near windows and doors, frequently indicate siding failure. Mold or mildew growth inside your home can also trace back to compromised exterior protection. If you notice any of these issues, it’s time to seriously consider siding replacement.
Choosing the Right Siding Material for Your Climate
Selecting appropriate siding material depends heavily on your local climate conditions, maintenance preferences, and budget constraints. Each material offers distinct advantages and challenges that you should carefully consider before making your investment.
Vinyl siding remains popular due to its affordability and low maintenance requirements. It performs well in most climates but can become brittle in extremely cold temperatures and may fade in intense sunlight. Fiber cement siding offers exceptional durability and fire resistance, making it ideal for areas prone to wildfires or severe weather.
Wood siding provides unmatched natural beauty but requires regular maintenance to prevent rot, insect damage, and moisture problems. Metal siding, including aluminum and steel options, offers excellent longevity but can dent and may require periodic repainting. Consider your local weather patterns, maintenance capabilities, and long-term plans when making your selection.
Essential Steps in Moisture Barrier Installation
Proper moisture barrier installation requires attention to detail and adherence to manufacturer specifications. The process begins with thorough preparation of the wall surface, ensuring it’s clean, dry, and free from protruding nails or debris that could puncture the barrier.
Installation typically starts at the bottom of the wall, working upward with each course overlapping the previous one by at least six inches. This shingling effect ensures that water flows down and away from the building rather than finding entry points between seams. All seams must be properly sealed using manufacturer-approved tape or sealants.
Pay special attention to areas around windows, doors, and other penetrations. These locations require careful cutting and sealing to maintain the barrier’s integrity. Many professionals use flashing tape or liquid sealants around these critical areas to ensure complete protection. Remember that any compromise in the moisture barrier can lead to significant problems later.
Professional vs DIY Installation Considerations
Deciding between professional installation and DIY approach requires honest assessment of your skills, available time, and risk tolerance. While some homeowners successfully complete siding projects themselves, the complexity of proper moisture barrier installation often justifies professional involvement.
Professional installers bring experience with local building codes, proper installation techniques, and warranty protection that DIY projects typically lack. They also carry insurance coverage that protects you from liability if accidents occur during installation. However, professional installation costs significantly more than DIY approaches.
If you choose the DIY route, invest time in thorough research and preparation. Understand your local building code requirements and obtain necessary permits before beginning work. Consider hiring professionals for at least the moisture barrier installation even if you handle the siding yourself, as this critical component requires precise installation techniques.
Common Installation Mistakes to Avoid
Learning from others’ mistakes can save you significant time and money during your siding replacement project. One of the most common errors involves inadequate moisture barrier overlap, which creates potential entry points for water infiltration.
Improper fastening represents another frequent problem. Using too few fasteners or placing them incorrectly can compromise the barrier’s effectiveness and lead to premature failure. Always follow manufacturer specifications for fastener type, spacing, and placement.
Failing to address existing moisture problems before installation creates ongoing issues that new siding cannot solve. If you discover rot, mold, or structural damage during the removal process, address these problems completely before proceeding with new installation. Covering up existing problems with new materials only delays inevitable repairs.
Maintenance Tips for Long-Term Performance
Proper maintenance extends the life of your siding and moisture barrier system significantly. Regular visual inspections help identify potential problems before they become serious issues requiring expensive repairs.
Clean your siding annually using appropriate methods for your specific material. Pressure washing works well for vinyl and fiber cement but can damage wood siding if used incorrectly. Remove debris from gutters and ensure proper drainage away from your home’s foundation to prevent water accumulation near the siding.
Check caulking around windows, doors, and other penetrations annually, replacing any cracked or missing sealant promptly. Trim vegetation away from siding to prevent moisture retention and potential pest problems. Address minor repairs immediately rather than allowing them to develop into major issues.
Cost Factors and Budgeting Guidelines
Understanding the various cost components helps you budget effectively for your siding replacement project. Material costs vary significantly depending on your chosen siding type, with vinyl being the most affordable and premium materials like cedar or fiber cement commanding higher prices.
Labor costs typically represent 40-60% of total project expenses, depending on your location and project complexity. Additional factors affecting costs include removal and disposal of existing siding, repairs to underlying structure, and complexity of your home’s design.
Don’t forget to budget for permits, which vary by location but are often required for siding replacement projects. Consider seasonal timing as well, since contractors may offer better pricing during slower winter months in some regions. Always obtain multiple quotes from licensed contractors and verify their insurance coverage before making your selection.
Frequently Asked Questions
How long does siding replacement typically take?
Most siding replacement projects take 1-2 weeks depending on home size and weather conditions. Complex architectural features or structural repairs can extend the timeline. Your contractor should provide a detailed schedule during the planning phase.
Can I install new siding over existing siding?
While sometimes possible, installing over existing siding is generally not recommended. This approach prevents inspection of the moisture barrier and underlying structure, potentially hiding problems that need attention. Most building codes also limit the number of siding layers allowed.
What’s the difference between house wrap and vapor barriers?
House wrap is breathable and allows water vapor to escape while blocking liquid water. Vapor barriers are impermeable and prevent all moisture movement. In most climates, breathable house wrap is preferred to prevent moisture accumulation inside wall cavities.
How often should siding be replaced?
Siding lifespan varies by material: vinyl lasts 20-30 years, fiber cement 30-50 years, and wood 15-25 years with proper maintenance. However, severe weather damage or installation problems may necessitate earlier replacement regardless of age.
Do I need permits for siding replacement?
Most municipalities require permits for siding replacement, especially when structural work is involved. Check with your local building department before beginning work. Permits ensure compliance with building codes and may be required for insurance claims or home sales.
Investing in proper siding replacement and moisture barrier installation protects your home’s value and your family’s comfort for decades to come. While the upfront costs may seem significant, the long-term benefits of professional installation far outweigh the expenses. Take time to research your options, choose quality materials, and work with experienced professionals to ensure your project’s success. Your future self will thank you for making these important decisions carefully and correctly.





How much does it cost for vinyl replacement windows Ferris Texas


























How much does it cost for vinyl replacement windows Parker Texas









Affordable home window replacement Randolph Texas



Affordable home window replacement Mansfield Texas