
The Complete Guide to Post-Installation Window Care: Protecting Your Investment for Years to Come
Congratulations on your new windows! Whether you’ve just upgraded to energy-efficient double-pane units or installed custom replacement windows, you’ve made a significant investment in your home’s comfort, energy efficiency, and value. But here’s what many homeowners don’t realize: the work doesn’t end when the installation crew packs up their tools. Proper post-installation window care is crucial for maximizing your windows’ lifespan, maintaining their performance, and protecting your warranty.
Think of it this way – you wouldn’t buy a new car and skip the first oil change, right? Your windows deserve the same level of attention. In this comprehensive guide, we’ll walk you through everything you need to know about caring for your newly installed windows, from those critical first 24 hours to long-term maintenance strategies that will keep them looking and performing like new for decades.
The Critical First 24-48 Hours After Window Installation
The immediate period following window installation is absolutely crucial for ensuring proper settling and performance. During this time, your windows are essentially “settling in” to their new home, and there are several important steps you should take to ensure everything goes smoothly.
First and foremost, avoid operating your windows for the first 24 hours unless it’s an emergency. The sealants and caulking materials need time to cure properly, and premature operation could compromise the weather seal. This waiting period might feel inconvenient, especially if you’re eager to test out your new windows, but trust me – patience now will pay dividends later.
During this initial period, keep an eye out for any obvious issues such as gaps in the caulking, misaligned frames, or hardware that appears loose. While major problems should have been caught during the final inspection with your installer, sometimes minor issues only become apparent once the materials have had time to settle.
Temperature fluctuations can cause materials to expand and contract, so don’t be alarmed if you notice very minor settling sounds during the first few days. However, if you hear significant creaking, popping, or notice any visible movement in the frame, contact your installer immediately.
Essential Window Cleaning Techniques for New Installations
Your brand-new windows deserve a cleaning approach that’s both effective and gentle. The key is understanding that different window materials require different care methods, and using the wrong technique could potentially void your warranty or cause permanent damage.
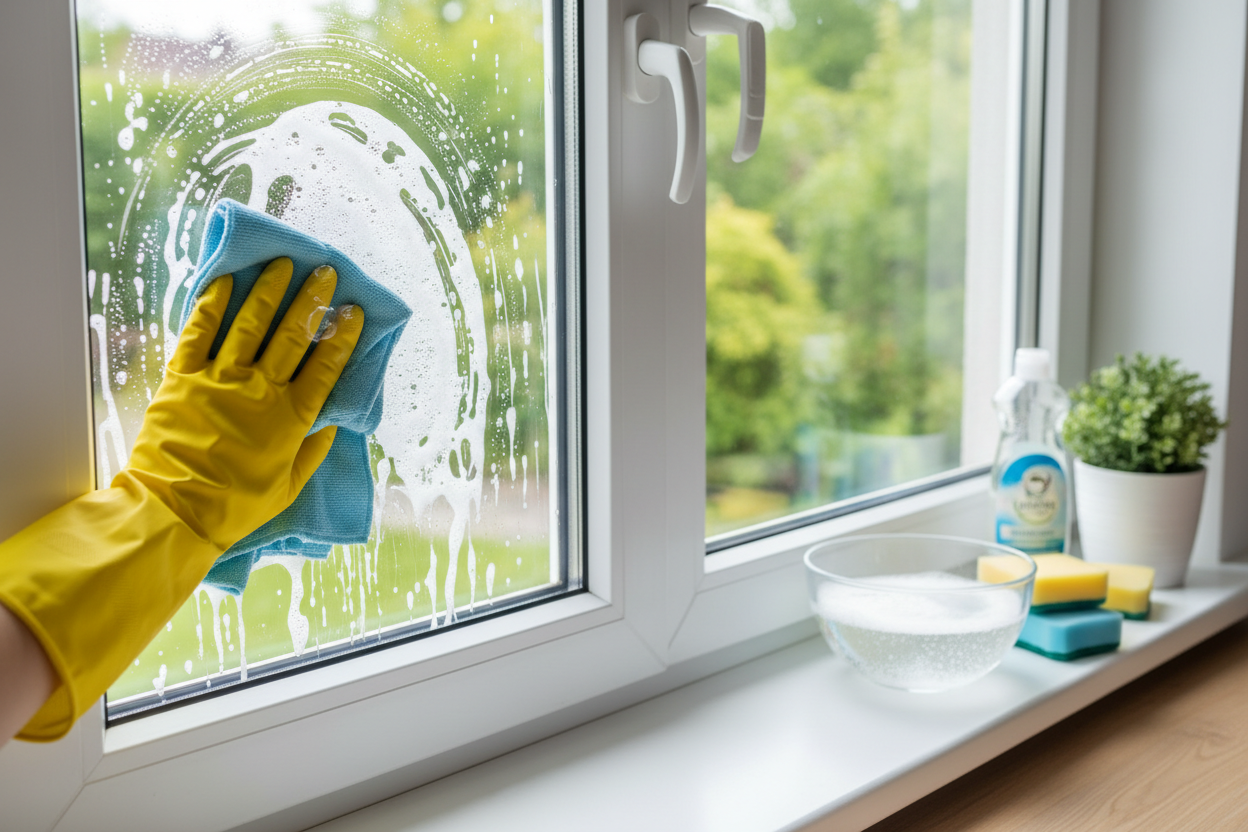
For vinyl windows, which are incredibly popular due to their durability and low maintenance requirements, stick to mild soap and water solutions. Mix a few drops of dish soap with warm water, and use a soft cloth or sponge to gently clean both the frame and glass. Avoid abrasive cleaners, bleach, or anything containing ammonia, as these can cause discoloration or surface damage to vinyl materials.
Wood windows require extra care to maintain their natural beauty. Use cleaners specifically designed for wood surfaces, and always follow the grain when cleaning. After cleaning, consider applying a wood conditioner or protective finish if recommended by your manufacturer. Remember, wood is a living material that responds to humidity and temperature changes, so regular maintenance is essential.
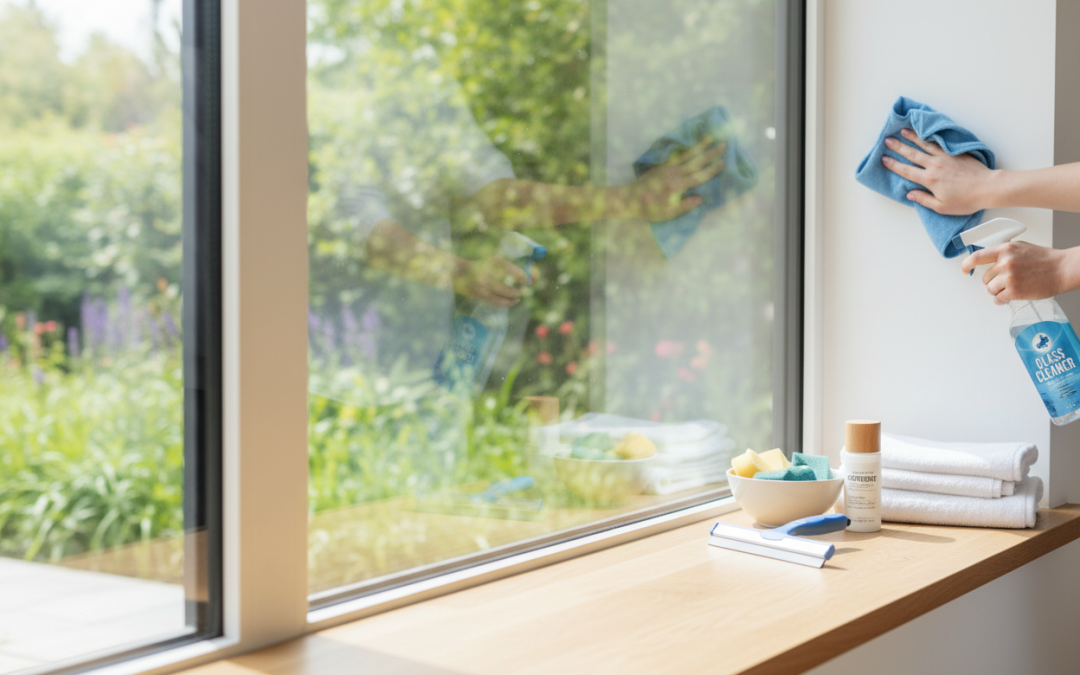
For the glass itself, regardless of your frame material, use a high-quality glass cleaner or make your own with equal parts white vinegar and water. The key to streak-free cleaning is using the right tools – microfiber cloths or squeegees work best. Clean your windows on cloudy days when possible, as direct sunlight can cause cleaning solutions to dry too quickly and leave streaks.
Protecting Window Hardware and Moving Parts
Your window hardware is the unsung hero of your window system. These components – including locks, handles, hinges, and tracks – work together to ensure smooth operation and secure closure. Proper care of these elements is essential for maintaining your windows’ functionality and security.
Start by familiarizing yourself with all the moving parts of your specific window type. Casement windows have different hardware than double-hung or sliding windows, and each requires slightly different maintenance approaches. Your installer should have provided documentation about your specific hardware, but if not, don’t hesitate to contact them for guidance.
Lubrication is key to keeping hardware functioning smoothly. Use a silicone-based lubricant on tracks, hinges, and other moving parts every six months. Avoid oil-based lubricants, which can attract dirt and debris over time. A light application is all you need – excess lubricant can actually cause problems by collecting dust and grime.
Pay special attention to window locks and security hardware. These components not only affect your windows’ operation but also your home’s security. If you notice any looseness in handles or difficulty engaging locks, address these issues promptly. Sometimes a simple adjustment is all that’s needed, but delaying repairs could lead to more significant problems down the road.
Seasonal Maintenance Schedules and Checklists
Developing a seasonal maintenance routine is one of the best investments you can make in your windows’ longevity. Each season brings different challenges and opportunities for window care, and staying ahead of potential issues is much easier than dealing with problems after they’ve developed.
Spring is the perfect time for a comprehensive window inspection and deep cleaning. After a long winter, check for any damage that may have occurred during harsh weather conditions. Look for cracks in caulking, damaged weatherstripping, or any signs of moisture infiltration. This is also an excellent time to clean both the interior and exterior of your windows thoroughly, removing any salt residue, dirt, or debris that may have accumulated during winter months.
Summer maintenance focuses on ensuring your windows are operating efficiently during the hottest months of the year. Check that all seals are intact to maintain your home’s energy efficiency, and ensure that any ventilation features are working properly. If you have screens, summer is the time to clean them thoroughly and check for any tears or damage that could let insects into your home.
Fall preparation is all about getting your windows ready for winter weather. This includes checking and replacing weatherstripping if necessary, ensuring all caulking is in good condition, and testing all locks and hardware to make sure everything is secure. Consider applying a protective coating to wood frames if recommended by your manufacturer.
Winter maintenance is generally minimal, but it’s important to keep snow and ice from accumulating on window sills and frames. Excessive moisture can lead to problems, and the weight of ice can strain hardware and seals.
Identifying and Addressing Common Post-Installation Issues
Even with the best installation and care, you might encounter some common issues with your new windows. The good news is that most of these problems are easily addressable if caught early, and knowing what to look for can save you time, money, and frustration.
Condensation is probably the most frequently misunderstood window issue. A little condensation on the interior surface of your windows during cold weather is actually normal and indicates that your windows are doing their job of keeping cold air out. However, excessive condensation or moisture between glass panes in double or triple-pane windows indicates a seal failure and should be addressed immediately.
Drafts around new windows can be concerning, but they’re often easily fixed. Check the caulking around the window frame – small gaps or cracks can develop as materials settle and cure. Most of these can be addressed with a simple caulk touch-up, but persistent drafts might indicate a more significant installation issue that requires professional attention.
Difficulty opening or closing windows is another common concern. This could be due to settling of the house, seasonal expansion and contraction, or simply the need for lubrication of moving parts. Before calling for service, try cleaning and lubricating the tracks and hardware. If problems persist, contact your installer, as this could be covered under your installation warranty.
Paint or finish issues on wood windows can develop over time, especially if the windows are exposed to direct sunlight or harsh weather conditions. Regular inspection and touch-up maintenance can prevent small issues from becoming major problems.
Long-term Care Strategies for Maximum Window Lifespan
The decisions you make in the first few years after installation will significantly impact your windows’ performance and lifespan over the next several decades. Developing good habits and maintaining consistent care routines is the key to getting the maximum return on your window investment.
Documentation is your friend when it comes to long-term window care. Keep detailed records of all maintenance activities, including dates, products used, and any issues encountered. This information will be invaluable if you ever need warranty service, and it helps you track patterns or recurring problems.
Establish relationships with qualified service providers early, rather than waiting until you have a problem. Having a trusted window professional who’s familiar with your specific windows and installation can make future maintenance and repairs much smoother and more cost-effective.
Consider the impact of landscaping and exterior modifications on your windows. Trees that grow too close to windows can cause damage during storms, and certain plants can hold moisture against window frames, leading to rot or other problems. Plan your landscaping with your windows’ long-term health in mind.
Stay informed about advances in window care products and techniques. The window industry continues to evolve, and new products or methods might offer better protection or easier maintenance for your specific window type.
When to Call Professionals vs. DIY Maintenance
Understanding when you can handle window maintenance yourself versus when to call in professionals is crucial for both your safety and your windows’ longevity. While many maintenance tasks are well within the capabilities of most homeowners, some situations definitely require professional expertise.
DIY maintenance typically includes regular cleaning, basic lubrication of hardware, minor caulk touch-ups, and simple adjustments to latches or locks. These tasks require basic tools and materials that most homeowners already have or can easily acquire. The key is working slowly and carefully, and stopping if you encounter anything unexpected.
However, certain situations always warrant professional attention. These include any structural issues with the window frame, problems with the glass itself (such as cracks or seal failures), major hardware malfunctions, or any situation where you’re not comfortable with the required work. Remember, attempting repairs beyond your skill level could void your warranty and potentially create safety hazards.
When in doubt, consult with your window installer or manufacturer. Most reputable companies are happy to provide guidance over the phone, and they can help you determine whether an issue requires professional service or can be safely addressed with DIY methods.
Conclusion
Proper post-installation window care isn’t just about maintaining your home’s appearance – it’s about protecting a significant investment and ensuring your windows continue to provide energy efficiency, security, and comfort for decades to come. The steps you take in those first few weeks and months after installation set the foundation for your windows’ entire lifespan.
Remember that consistency is key. Regular cleaning, seasonal inspections, and prompt attention to minor issues will prevent most major problems from developing. Don’t view window maintenance as a chore, but rather as a small investment of time that pays huge dividends in performance, longevity, and peace of mind.
Your new windows represent a commitment to your home’s future, and with proper care, they’ll reward you with years of reliable service, improved energy efficiency, and enhanced comfort. Take pride in maintaining them well – future you will thank you for the effort.
Frequently Asked Questions
How long should I wait before cleaning my new windows after installation?
Wait at least 24-48 hours before cleaning your new windows to allow all sealants and caulking materials to cure properly. This initial waiting period is crucial for ensuring proper adhesion and weather sealing.
What’s the best cleaning solution for new vinyl windows?
Use a mild soap and water solution with just a few drops of dish soap mixed with warm water. Avoid harsh chemicals, bleach, or ammonia-based cleaners, as these can damage vinyl surfaces and potentially void your warranty.
Is condensation on my new windows normal?
Some condensation on the interior surface during cold weather is normal and actually indicates your windows are working properly. However, condensation between glass panes in double or triple-pane windows indicates a seal failure and requires immediate professional attention.
How often should I lubricate window hardware?
Lubricate moving parts like tracks, hinges, and locks every six months using a silicone-based lubricant. Avoid oil-based products that can attract dirt and debris over time.
When should I call a professional instead of handling maintenance myself?
Call a professional for any structural issues, glass problems like cracks or seal failures, major hardware malfunctions, or any situation where you’re uncomfortable with the required work. When in doubt, consult your installer or manufacturer first.
What should I do if my new windows are difficult to open or close?
First, try cleaning and lubricating the tracks and hardware. If problems persist after basic maintenance, contact your installer as this could indicate a settling issue or installation problem that may be covered under warranty.
How can I prevent damage to my windows during the first year?
Maintain consistent indoor humidity levels, address any caulking gaps promptly, keep landscaping trimmed away from windows, and follow a regular cleaning and inspection schedule. Document any issues and address them quickly to prevent minor problems from becoming major ones.

Home replacement window companies Muenster Texas

How much does it cost for vinyl replacement windows Southmayd Texas


Home window replacement cost Lowry Crossing Texas

















Affordable home window replacement Preston Hollow Dallas Texas















Affordable home window replacement Prosper Texas


Window replacement near me in Lowry Crossing Texas



Home replacement window companies Colleyville Texas













Rockwall TX Replacement Siding Installation Services










North Richland Hills TX Siding Replacement Contractors